Materials Required:
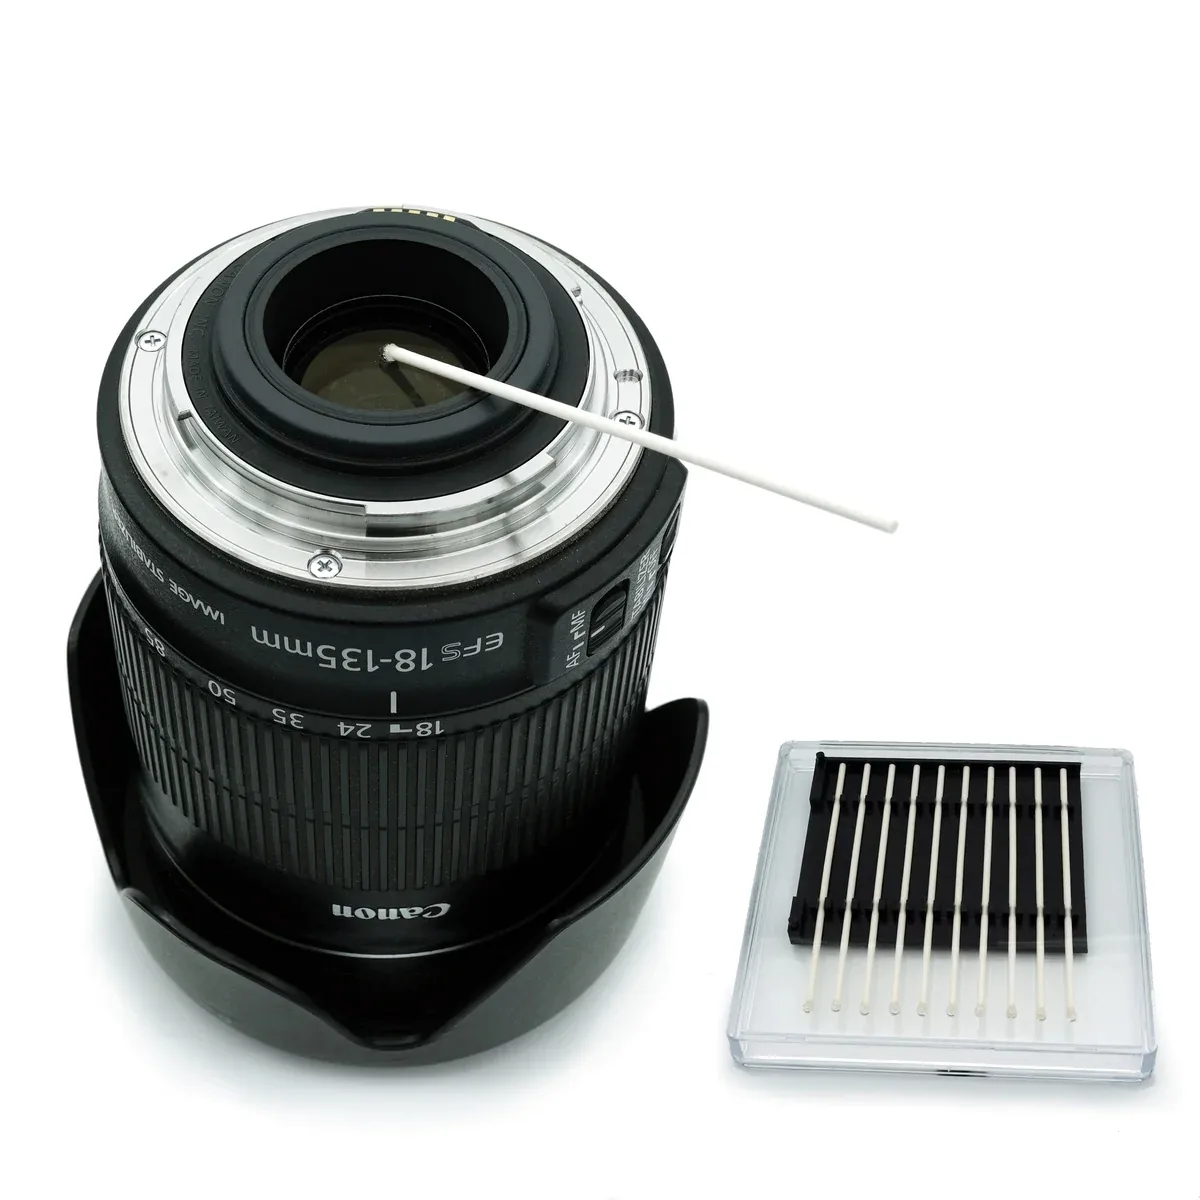
- Sticky cleaning swab (with 1.0mm gel head)
- Target item (e.g., camera lens, circuit board, or fiber optic connector)
- Clean work area (preferably dust-free environment)
- Anti-static gloves (for sensitive electronics)
- Magnifying glass or microscope (if working on very small components)
Step-by-Step Process:
- Preparation:
- Ensure the workspace is clean and free from dust.
- If working on electronics, wear anti-static gloves to avoid static discharge.
- Use a magnifying glass or microscope to inspect the surface for contaminants.
- Identify the Contaminated Area:
- Spot the particles, dust, or fibers you want to remove.
- Pay attention to sensitive areas like sensor surfaces or gold connectors.
- Swab Handling:
- Hold the swab at the base to ensure precision.
- Avoid touching the gel head directly with your fingers to keep it free from oils or contaminants.
- Cleaning Motion:
- Gently press the 1.0mm sticky gel head onto the contaminated area.
- Use light pressure to make contact and lift particles off the surface. Do not rub the swab—this might spread dirt or damage delicate surfaces.
- Lift the swab vertically after contact to ensure particles stick to the gel head.
- Inspect the Surface:
- Use your magnifying glass or microscope again to check if all debris has been removed.
- If particles remain, repeat the process with the same gentle pressing and lifting motion.
- Swab Disposal or Cleaning:
- For single-use swabs, dispose of them after cleaning.
- If the swab is reusable, clean it according to the manufacturer’s instructions (some gel heads can be washed with pure water and air-dried).
Example Use Cases:
- Camera lens cleaning: Press the gel head onto a speck of dust and lift it off without rubbing.
- Microchip repair: Clean gold-plated connectors by picking up microfibers lodged between them.
- Optical sensors: Gently lift off tiny contaminants without scratching delicate surfaces.


